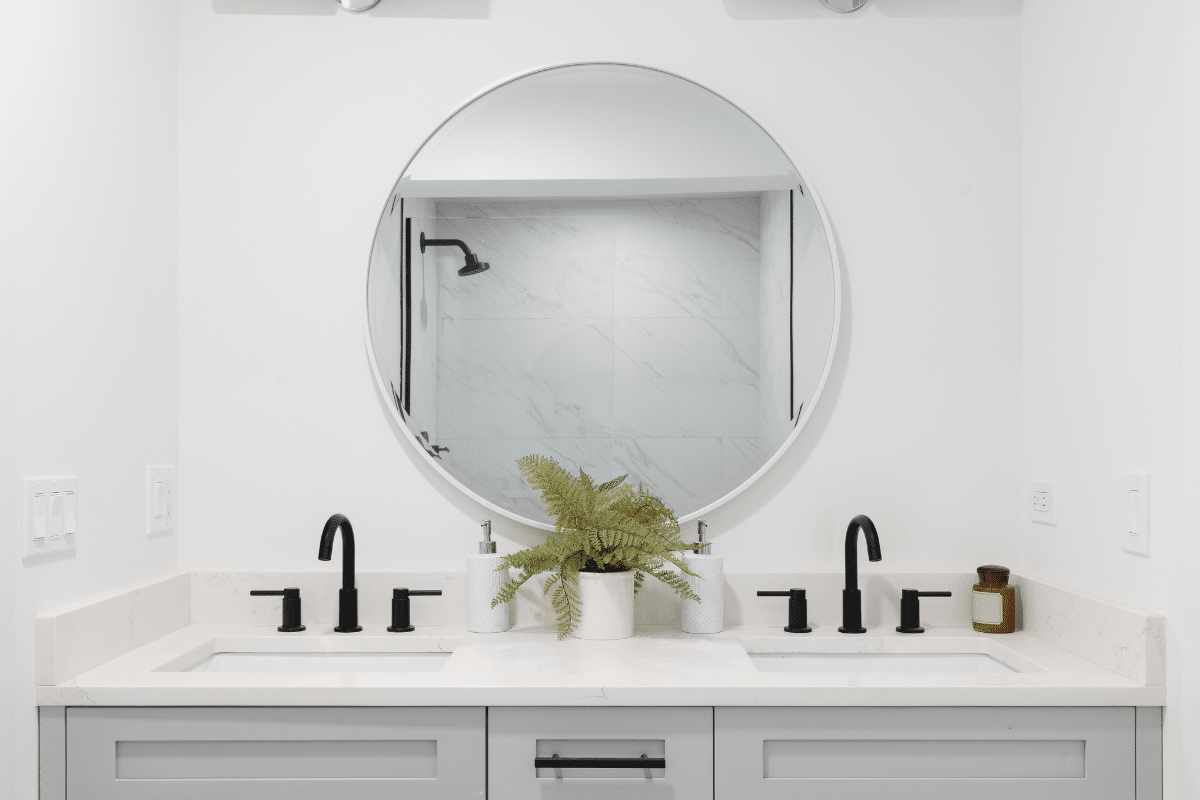
Bathroom vanities provide an ideal opportunity to show off your design style. A coat of paint or stain, updated hardware and an eye-catching countertop can all transform it into an eye-catching centerpiece in no time at all.
Before beginning your DIY project, prepare the cabinet doors and drawer fronts (and the rest of the vanity) by sanding and vacuuming off dust from sanding them – then using a damp microfiber cloth to wipe down surfaces before priming them.
1. Paint the Cabinets
Add new life and refresh the look of your bathroom vanity by giving it a fresh coat of paint – an easy, do-it-yourself project you can complete over a weekend.
Start by lightly sanding the cabinets using a mouse sander to rough up their surface and help the primer adhere better to them. Vacuum up any remaining dust, and use damp microfiber cloth or tack cloth to wipe down and clean off any remaining residue from sanding. After your cabinets and drawer fronts have dried completely, apply primer using either brush (use small paintbrush for crevices and corners) or roller to larger flat surfaces and allow it to set over night before lightly sanding again the following morning.
Once your cabinets have been thoroughly sanded, apply two coats of the cabinet paint you have selected. Use a roller for large areas and a smaller brush for detail work such as painting the corners or edges of cabinets. A high quality waterborne alkyd interior paint such as ADVANCE provides durable furniture-like finishes without chipping or flaking over time.
If you own an attractive dresser or buffet in your home, transforming it into a bathroom vanity using the proper hardware and countertop can easily become part of its decor. Doing so provides an innovative storage solution while adding to its aesthetic value.
2. Paint the Countertop
Even if your countertop is in good shape, giving it new life with paint can still bring new vibrancy into the bathroom and give your bathroom a whole new personality – an economical and quick alternative to full renovation.
Be sure your counter is completely clean and dry prior to painting it, mask off areas you don’t want painted (such as drain spout, faucet and surrounding walls ) to avoid getting paint on them, scrape peeling sections with putty knife/sandpaper; use putty knife/sandpaper combination on peeling sections before prepping surface with 120-180 grit sandpaper then wiping down again so that paint adheres correctly preventing chips in future.
When using oil-based enamel paint like that used by Workshop member RCRISP, it is critical that the primer dry for several hours prior to applying your first coat of paint. Furthermore, you should test it by running your fingernail across the surface; if any paint comes off as you do so, reapplying primer or selecting another type may be necessary.
Addition of a granite top and brushed-nickel hardware transforms this builder vanity into modern luxury. Light aqua water-based paint with accents of black round out this small space with style.
3. Install a Sink
A vanity sink is an indispensable design component, keeping bathrooms and ensuites tidy while being an eye-catching focal point in their space. If your existing one has become outdated, consider updating it to enhance the aesthetics of your space – with the proper materials and tools, even beginners can tackle this DIY project successfully!
Establishing a consistent look with paint can be easy; here in this bathroom, light aqua water-based paint brightens pine cabinets and unites the room’s color palette. A Carrara marble countertop featuring distinct veining adds luxurious style while an affordable way to do just that would be adding matching backsplash tiles or an affordable way of adding them directly.
This outdated vanity needed some TLC in order to feel fresh again. A fresh coat of paint, new mirror and hardware gave this room a refined new look.
Cabinetry is an integral component of your bathroom’s appearance, so why not consider an update yourself? DIY upgrades are cost-effective solutions that can transform its overall aesthetic while adding character. There is something available in every style imaginable at Lily Ann Cabinets; so whatever your preference or budget may be you can find exactly what you need!
4. Add Hardware
Makeovers for bathroom vanities can be done on any scale you like – from an easy paint and hardware refresh to more extensive remodels that include changing out fixtures altogether. No matter if your bathroom is modern or classic, here are budget-friendly tips and ideas that can give your vanity some new life!
This builder-basic vanity was both boring and outdated, but rather than gutting it completely, these homeowners gave it an easy yet stylish update with some paint and new knobs. A darker shade modernizes its oak cabinet while its new brushed-nickel knobs complement both brackets on its floating display shelves as well as its classic silhouette – both added touches which tied everything together beautifully in terms of classic silhouettes in the room.
When your bathroom vanity is outdated but in good condition otherwise, consider painting it a vibrant hue to make a dramatic impactful change. Painting it yourself can be easier than you think and can even make for an enjoyable first DIY project for novice DIYers! These homeowners applied Sherwin Williams paint to face frames, toekick and side panels while waiting for new custom cabinet doors – creating a complete cohesive look in one afternoon!


